If you’ve ever watched shoppers bee-line across a fairground to a single booth, you’ve seen the power of a purposeful display. Today’s Craft Show Rodeo dives deep into a subtopic we use constantly at Bell-Flater Designs: optimizing your craft show display by weaving in themed accessories and custom techniques to attract niche markets. Whether your people are anime enthusiasts, sci-fi fans, comic collectors, or a hyper-local crowd with hometown pride, a niche-first display helps busy buyers recognize “their” table at a glance—then stay to discover quality, care, and custom options.
Contents
- Niche-First Merchandising: Turn Your Booth into a Beacon
- Themed Accessories That Pull Focus (and Open Conversations)
- Custom Techniques That Signal Craftsmanship
- Build Micro-Worlds for Fandoms and Subcultures
- Layout Mechanics: Sightlines, Triangles, and Color Blocking
- Tell the Durability Story: Materials, Care, and Repair
- Experience Zones: Commissions, Demos, and Try-On
- Packable Display Systems for the Road Warrior
- Pricing, Bundles, and Signage that Speak to Niche Value
- Rapid Iteration: Test, Measure, Evolve
- Conclusion
Niche-First Merchandising: Turn Your Booth into a Beacon
Niche-first merchandising means choosing a specific audience and building your visual story for them before you think about everyone else. You’re not excluding other buyers—you’re making it easy for the right buyers to find you in seconds. If your work connects with fandoms, subcultures, or specialty interests, front-load your booth with those signals, then back-fill with broader appeal pieces. The result is a booth that feels curated, not cluttered, and a stronger word-of-mouth effect (“You have to see this anime bag booth!”).
At Bell-Flater Designs, we specialize in nerd-culture themes—anime, manga, comic books, sci-fi—and we integrate those motifs into our bag patterns and custom fabric designs. Because Ashley handcrafts every bag (primarily machine-stitched, handsewn where needed), we can guide each show’s display to highlight one or two fandoms based on the event’s crowd while still letting casual shoppers appreciate quality, function, and longevity.
- Tip: Pick one headliner niche per show (e.g., “space opera sci-fi”) and one supporting niche (e.g., “mecha anime”).
- Tip: Place niche signals at 5–15 feet visibility: banner art, color themes, and a hero product on a riser.
- Tip: Put universal bestsellers within arm’s reach so passersby can touch materials and notice quality.
Themed Accessories That Pull Focus (and Open Conversations)
Themed accessories are tiny visual hooks that reinforce your niche story and invite quick dialogue. They don’t have to be expensive props; think purposeful, lightweight add-ons that show function and personality. For bag makers, that might mean strap variations, zipper pulls, key fobs, and removable charms that align with your theme.
Props that work without clutter
• Embroidered patch swatches attached to a binder ring labeled “Pick Your Emblem.” • A small stand of enamel pins with a sign “Add a Fandom Flair — Clips On/Off.” • A “Zip & Swap” corner showing interchange-able straps in theme colors. These little touches invite shoppers to imagine customizing their piece and make it simple for you to talk options and upgrades.
Avoid the prop pile-up
Limit props to those that clarify a benefit or spark a question. If a prop doesn’t tie back to function, durability, or a specific fandom cue, leave it home. The goal is focus—and faster decisions for customers navigating busy aisles.
- Tip: Price and label accessories as bundles (“Choose any 2 zipper pulls for $8”).
- Tip: Keep accessory colors consistent with your theme palette to prevent visual noise.
- Example: For a sci-fi theme, matte gunmetal hardware + starfield zipper tape + constellation key fobs.
Custom Techniques That Signal Craftsmanship
Beyond props, your best “display accessory” is proof of craft. Bring physical samples and signage that explain the techniques your shop excels at. At Bell-Flater Designs, our bags are typically made out of cotton—tough, washable, and suitable for everyday use—though we do accept special orders in leather or vinyl when the project calls for it. We can incorporate embroidery, custom-designed fabric patterns, and specialty accessories to make each piece truly one-of-a-kind.
Show a mini “tech board” with stitch samples, a small embroidery hoop displaying an in-progress design, and a fabric swatch deck. Customers love handling these: they feel the thickness, see the stitch quality, and immediately grasp why your price makes sense. Mention that everything is sewn by Ashley—machine stitched for durability, handsewn where needed for precision—and you’ve humanized your brand while validating quality.
- Tip: Use a cardstock sign: “Want your favorite character? We do commission orders.”
- Tip: Keep a QR code to a gallery of past custom projects to shorten the trust curve.
- Example: Display one “exploded” bag (lining exposed, seam allowances visible) to showcase build quality.
Build Micro-Worlds for Fandoms and Subcultures
Instead of a single long table of mixed items, organize your booth into micro-worlds—small clusters that each tell a coherent story. For example, create a “Mecha Bay” with angular patterns, metallic accents, and bold color-blocked straps. Next to it, a “Cozy Manga Corner” with soft pastels, embroidery flourishes, and petite bag silhouettes.
This approach helps shoppers self-sort without you saying a word. Fandoms are specific; your clusters should be too. Each cluster gets its own hero product on a riser, a mid-priced companion piece, and an entry-level accessory to ease commitment (stickers, wristlets, or mini pouches with matching motifs).
- Tip: Aim for 3-product ladders per micro-world: entry, mid, premium.
- Tip: Use 2–3 brand colors per micro-world and repeat them across signage and props.
- Example: “Galactic Explorer” world: navy backdrop, star-map sign, cotton crossbody with embroidered nebula, plus matching key fob.
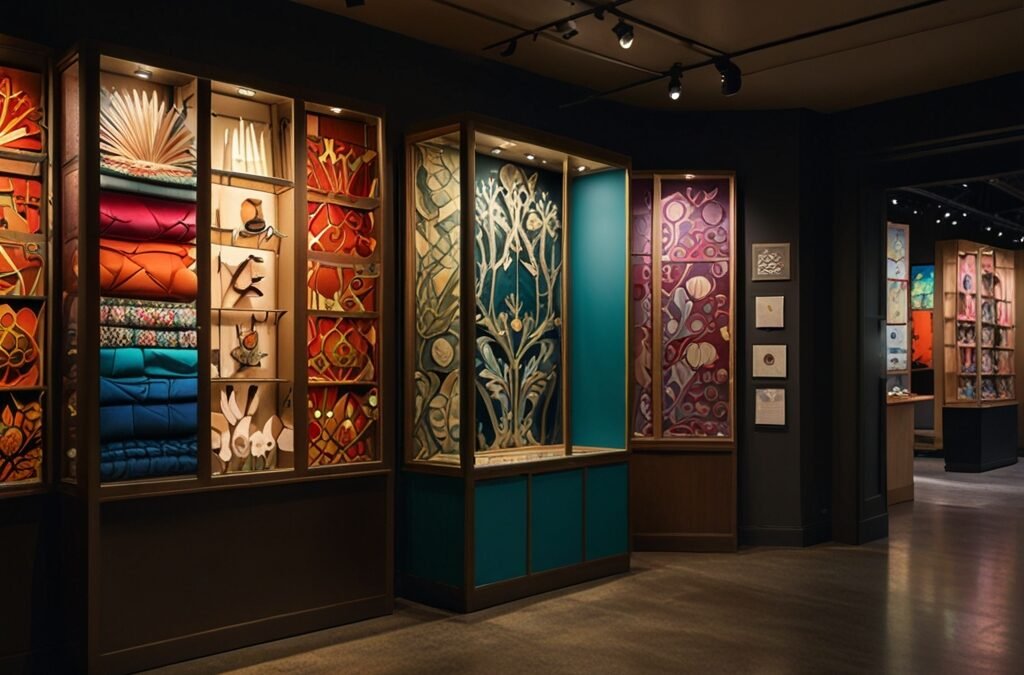
Layout Mechanics: Sightlines, Triangles, and Color Blocking
Effective displays manage height, angle, and color. Start with a triangle composition in each zone: a tall anchor (banner, riser, stand), a mid-height product, and a low accent. Use 10–15 degree angles to aim hero products at the aisle. Color-block with intentional bands—light-to-dark or theme palette—so eyes can rest and then move.
Create “touch points” within reach every 2 feet—straps, zipper pulls, fabric swatches—so a shopper always has something to handle without knocking over your display. If you sell wearable pieces, add a mirror and clear “Try Me” signage. For bags, show interior organization open on at least one hero model; function sells fast when people can see it.
- Tip: Put your most visually distinct piece on the corner closest to foot traffic flow.
- Tip: Use matte surfaces for props to keep glare down in outdoor shows.
- Check: Kneel at aisle eye-level and verify your hero piece is visible over crowd height.
Tell the Durability Story: Materials, Care, and Repair
Niche aesthetics get them to stop; longevity converts them to customers. If you champion durability and low-maintenance care, say it visibly. We primarily use cotton—sturdy, everyday-strong, and often machine washable—so we include a small placard: “Cotton bags. Everyday tough. Most are machine washable. Care card inside.” When a bag isn’t washable, we note “low-maintenance care” with simple spot-clean instructions.
We also stand behind repair. A tiny sign reading “We repair what we make” turns heads. It tells buyers your work is meant to last—and that you’ll support it. If you accept rebuilds or hardware swaps, list baseline pricing so the decision to buy feels safe and smart.
- Tip: Add a tactile “feel the fabric” swatch on a chain with care instructions printed on the tag.
- Tip: Include a sample care card at the checkout area so passersby can snag one.
- Example: “Stitched by Ashley. Machine-sewn for strength; hand-finished where it matters.”
Experience Zones: Commissions, Demos, and Try-On
A micro “experience zone” converts browsers into participants. If you offer commission orders, dedicate a corner titled “Design Your Bag.” Keep a compact binder of fabric options—including any custom-designed patterns we’ve created for fandom themes—plus embroidery motif menus and accessory choices. Use masking tape on the table to create three quick steps: 1) Choose base style, 2) Choose theme, 3) Choose accessories.
Short, live demos—like showing how a strap swaps or how an add-on pouch clips inside—create motion that stops traffic. If space allows, a single mannequin or torso shows scale and wearability. Every demo is also a chance to talk craftsmanship: “Ashley stitches each seam on a professional machine and handsews details where precision matters.”
- Tip: Use a small hourglass or timer for demos; 60–90 seconds is plenty for attention spans.
- Tip: Post commission lead times clearly (e.g., “Custom builds: 3–4 weeks”).
- Example: A chalkboard: “Ask about custom embroidery — your favorite ship, crest, or quote.”
Packable Display Systems for the Road Warrior
The best themed display is one you can set up fast, adjust to any footprint, and pack small. Modular risers, folding grids, and roll-up banners give you height without weight. Use collapsible crates to raise tables invisibly and store extra stock. Keep each micro-world in its own labeled tote so you can swap themes by show (e.g., “Sci-Fi: Blue Kit,” “Manga: Pastel Kit”).
Travel introduces wear and tear. Protect your hero pieces in padded sleeves. Carry a quick-fix kit (zip ties, mini clamps, museum gel, gaffer tape) to secure props in wind or on uneven ground. If you occasionally use leather or vinyl for special orders, pack those pieces away from potential heat or sun exposure to prevent warping, and mark care cards accordingly.
- Tip: Prewire lighting to a single power strip you can place in one motion.
- Tip: Take phone photos of your ideal setup and tape them to the inside of your display box.
- Checklist: Risers, banner, clamps, table clips, breath mints, fabric lint roller, backup price tags.
Pricing, Bundles, and Signage that Speak to Niche Value
Pricing is part of display strategy. When your booth tells a niche story, your price tags should echo the benefits of that niche: custom art, limited runs, repair support, washability, and craftsmanship. Rather than a sea of numbers, use a few readable cards with short benefit lines—“Machine washable cotton—built for everyday quests.” Put your best “value combo” next to it: “Bag + themed strap + matching key fob — Save $10.”
For commissions, show a three-tier estimate with what’s included at each level. People don’t always know how to ask for custom work; you’re giving them a menu that removes friction. If you do embroidery, show a base price plus per-character or per-square-inch add-ons. For custom fabric design, show a one-time design fee and how it applies to future reorders.
- Tip: Add a “Why It’s Worth It” bullet: “Repaired in-house if life gets messy.”
- Tip: Use rounded numbers to speed decisions (e.g., $65/$85/$110 tiers).
- Example: “Commission Corner: Start at $X. Choose theme, embroidery, and hardware — we’ll quote in 2 minutes.”
Rapid Iteration: Test, Measure, Evolve
Think of your booth as a living prototype. Take a quick photo after setup, then again midday when traffic peaks. Mark where people stand, what they touch first, and which questions come up repeatedly. If shoppers ask the price of the same bag over and over, your signage isn’t visible enough. If they ask, “Do you do custom?” but you have a custom sign, move it to eye-level near your hero product.
Keep a simple scorecard: headliner niche, supporting niche, hero product, top three questions, top three sellers, and one change to try next time. Over a season of shows, you’ll see patterns. For us, leaning into a single fandom per event, plus a strong commission corner, consistently increases both average order value and the number of meaningful conversations we have with the right customers.
- Tip: Use color-coded stickers on price tags to track which micro-worlds convert best.
- Tip: Test one variable per show (lighting, hero product, sign copy) so you know what caused changes.
- Example: Swap from “Custom Orders” to “Design Your Bag” and measure inquiries.
Conclusion
- Lead with a specific niche so your booth becomes a beacon for your ideal buyers.
- Use themed accessories and micro-world clusters to focus attention and guide decisions.
- Show your craft: include technique samples, care cards, and proof of durability and repair support.
- Create an experience zone for commissions and demos—motion stops traffic and starts conversations.
- Keep your display modular and packable so you can adjust themes by show without stress.
- Write signage that reinforces value: custom art, washable cotton, in-house repairs, and clear pricing tiers.
- Iterate fast: measure what people touch, ask, and buy; adjust one variable per show.
- Above all, make it easy for a customer to point and say, “That’s me.”
Explore more Craft Show Rodeo lessons, booth design ideas, and real-world vendor tips at https://bellflater.com/category/craft-shows/